
How to Add a Product to Makers India Marketplace
Step 1: Login your account
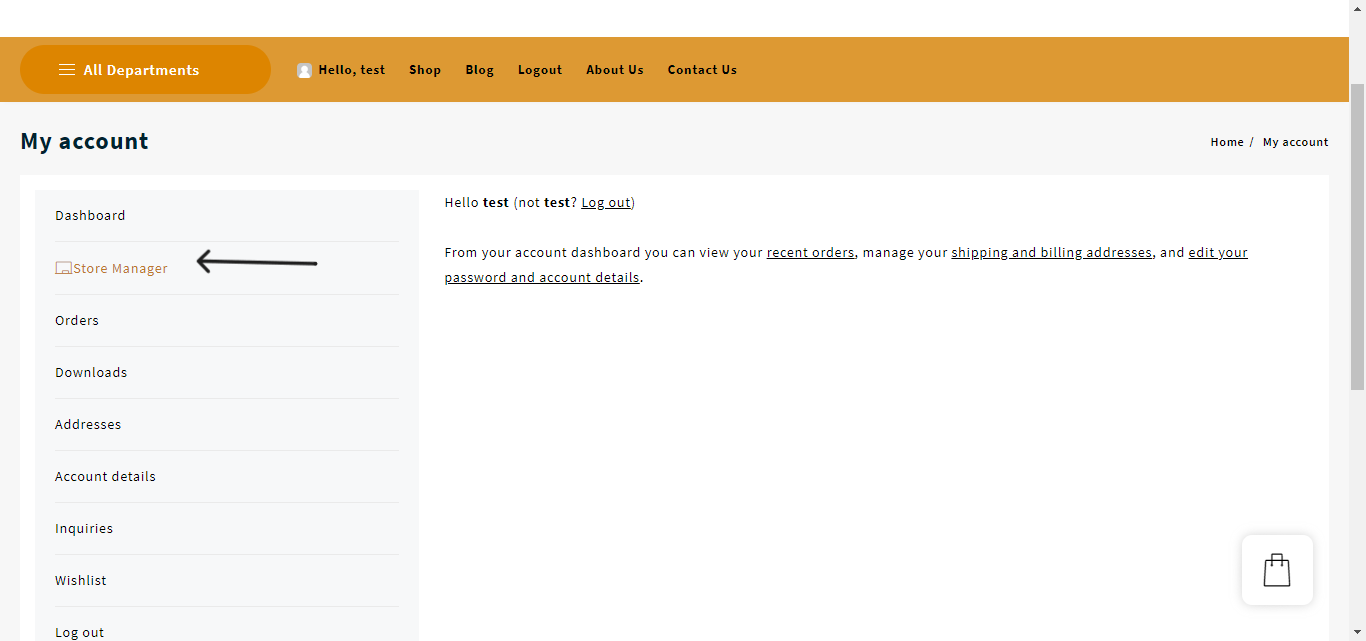
First, login to your account, and then click on your profile icon as shown.

Step 2: Open store manager
Now click on the store manager option.
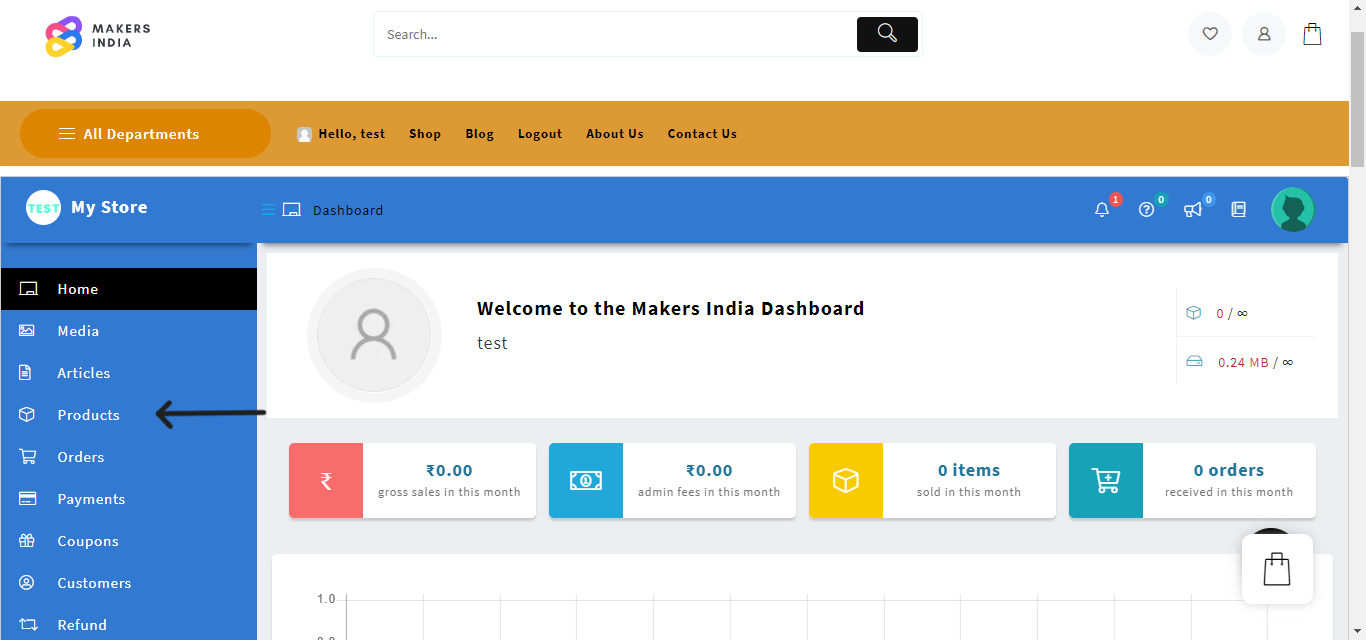
Step 3: Click on products
On the left side of your seller dashboard, you have product option click on that.
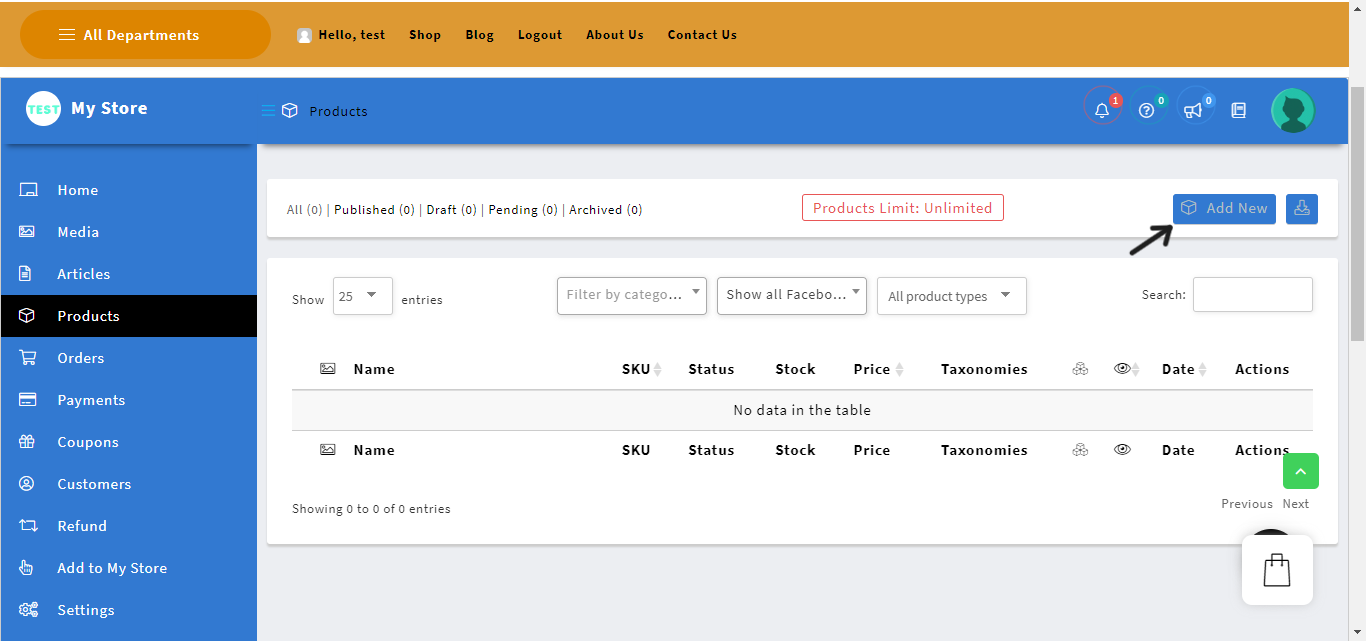
Step 4: Click on Add new
Locate the “Add New” option on the right-hand side of your dashboard and click on it.
Step 5: Fill the complete details of the product below
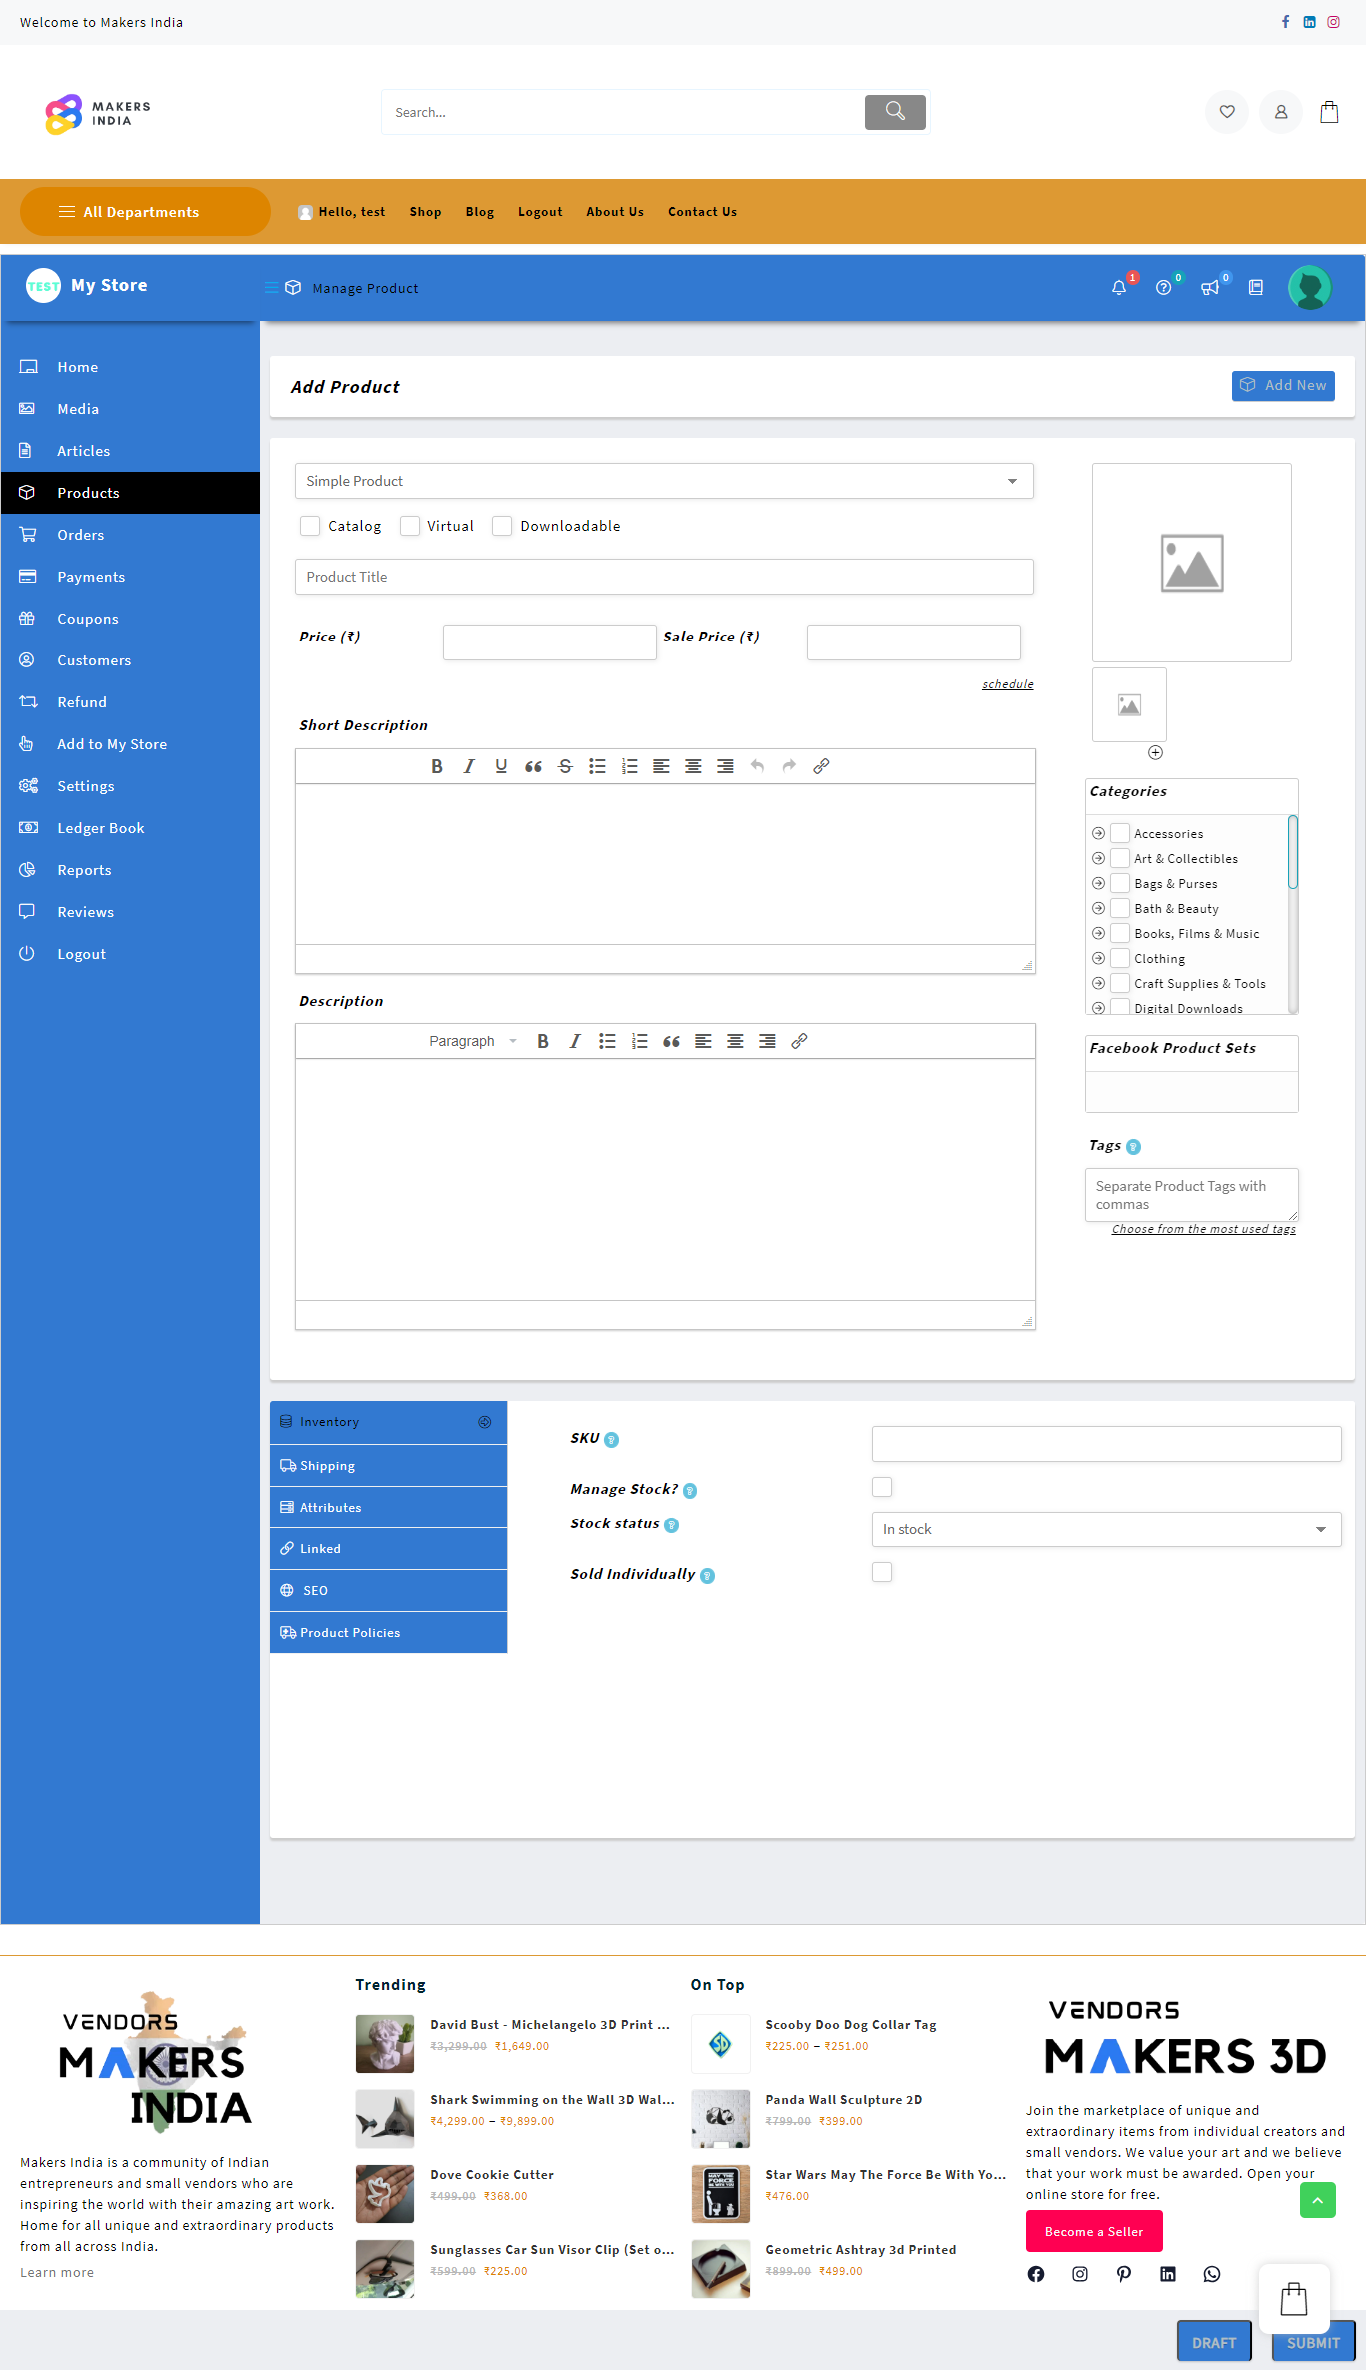
Step 6 : Choose product type
Depending on what you’re selling, Makers India lets you use different product types. You can choose from four core product types:
- Simple product: It is the default. This type of product is common among store owners. For instance, a one-size-fits-all hat.
- Grouped product: A grouped product is usually for combining simple products – for instance, a pack of five t-shirts
- External/Affiliate product: If you have a drop-shipping business, or an affiliate based store, you can use this option to link the “Add to Cart” button to an external page.
- Variable product: A product that offers multiple variations like colors, sizes, etc. For example, a t-shirt where shoppers can choose between “Small”, “Medium”, “Large”, etc.
You also get two additional options to modify those four core product types:
- Virtual: This option is for those who are selling an online digital product that doesn’t require a shipment.
- Downloadable: You can enable this if there’s a downloadable file associated with the product. For example, an eBook or audio file.

Step 7: Adding simple product
7.1 Add product details
Product Title: Enter the title of your product. Make sure it’s descriptive and accurately represents what you’re selling.
Price: Add standard price of the product.
Sale price: Add discounted price of the product.
Short description: Write a short description of your product
Description: Write a detailed description of your product. Include key features, benefits, specifications, and any other information that potential buyers might find useful.
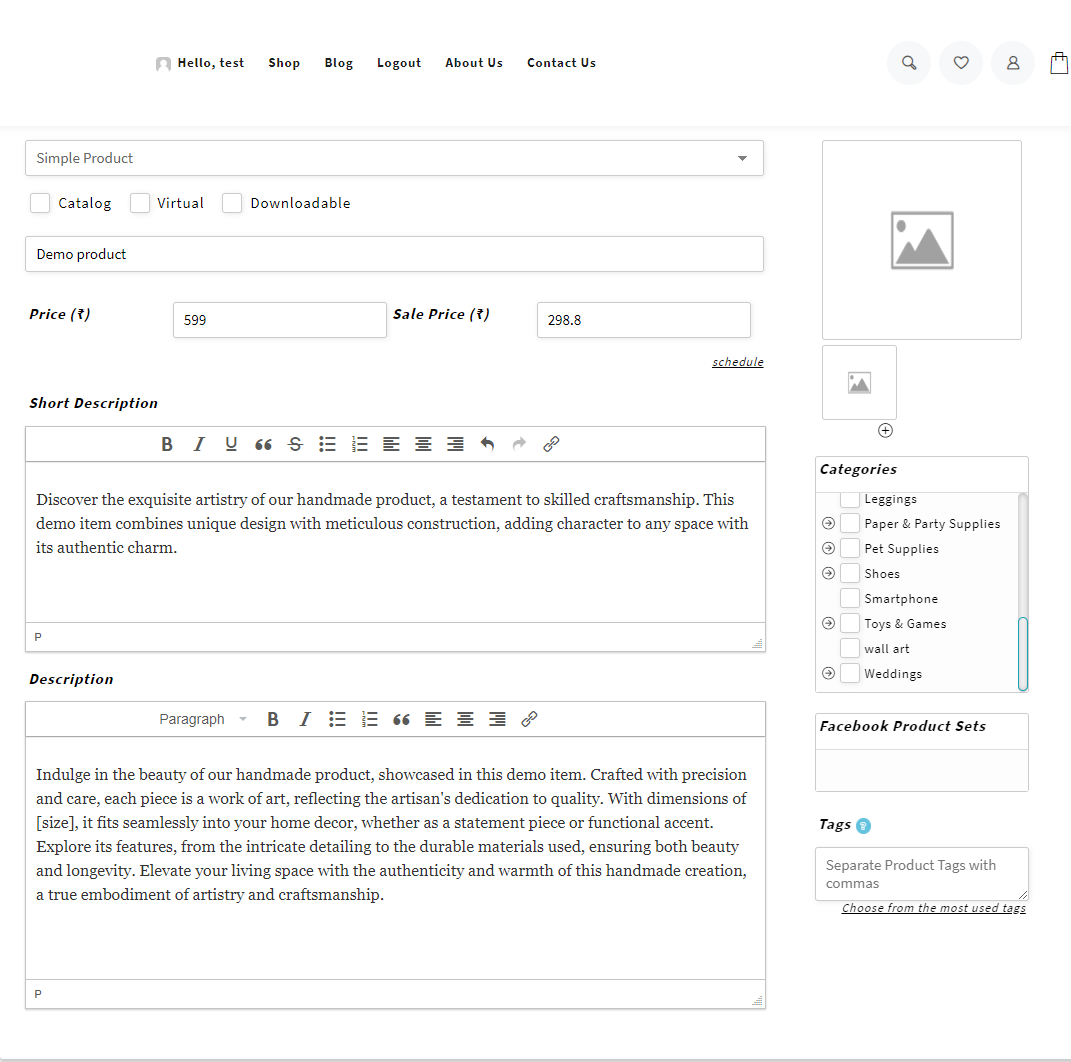
Step 7.2: Set product image and gallery
- Product Image: This is the main image for your product. Look for the “Product Image” section on the right-hand side and click on “Set product image” to upload or select an image from your media library.
- Product Gallery: To add more images, use the “Add product gallery images” option. This allows customers to see different angles and details of the product.

Step 7.3: Choose Product Categories and Tags
Set Product Categories
- On the right-hand side of the product editor, locate the “Product Categories” box.
- Check the boxes next to the categories you wish your product to be associated with. Your product can belong to multiple categories, which helps in organizing your shop and making it easier for customers to navigate.

Add Product Tags
- In the “Product Tags” box, also located on the right-hand side, you can add relevant tags to your product.
- Type the tags into the box, separating multiple tags with commas. Tags can help customers find products related to what they’re searching for through keywords.

Step 8 : Fill out the product data meta box
8.1 Inventory Tab
- SKU: Add the SKU of you product
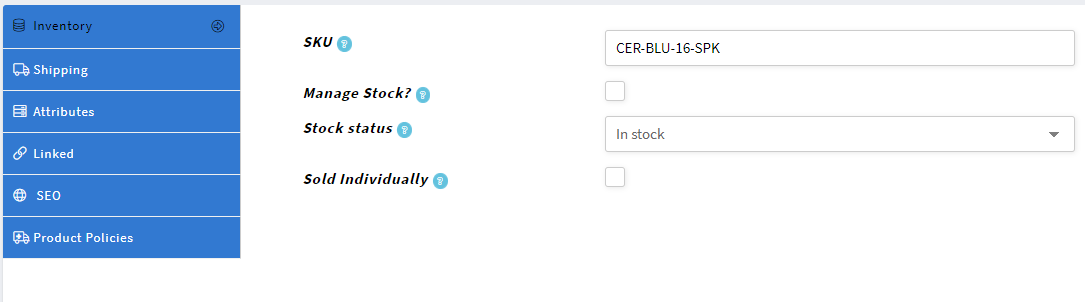
- Manage Stock?: Check this to specify stock quantities, and WooCommerce will auto-manage inventory and update stock status as orders are placed.

- Stock Quantity: How many units of the product are available.
- Allow Backorders?: Decide if customers can order products when they’re out of stock.
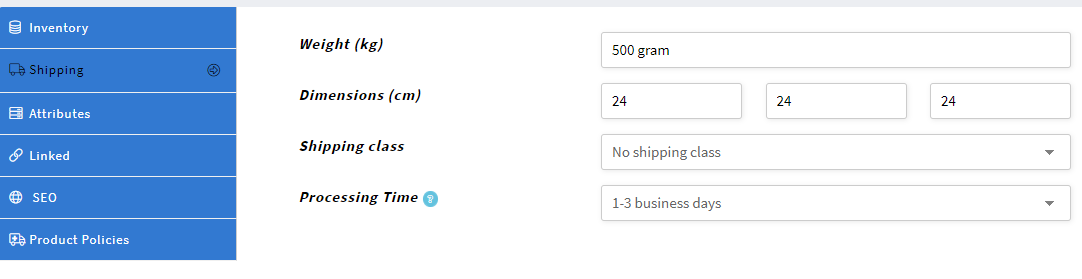
8.2 Shipping Tab
- Weight: The weight of the item.
- Dimensions: Length, width, and height of the item.
- Shipping Class: Shipping classes can be used by certain shipping methods to group similar products.
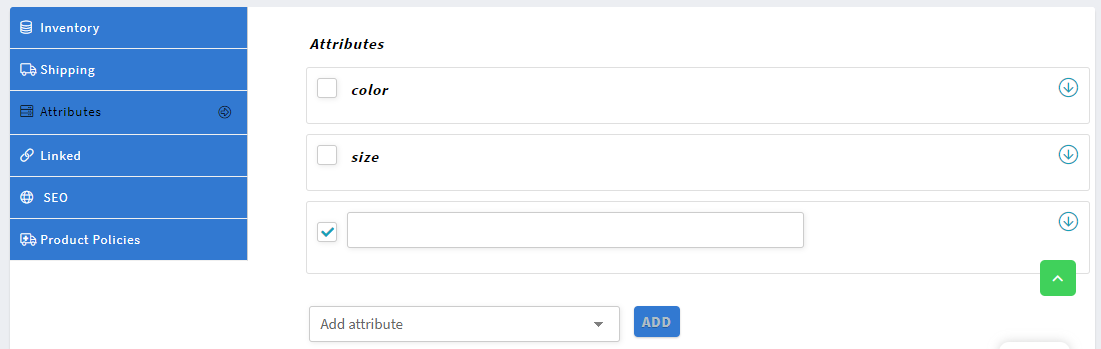
8.3 Attributes Tab
- Here, you can assign existing attributes or create custom ones for your product. Attributes are necessary for variable products.
- To add an attribute, select it from the dropdown and click “Add”. Fill in the values customers can choose from.
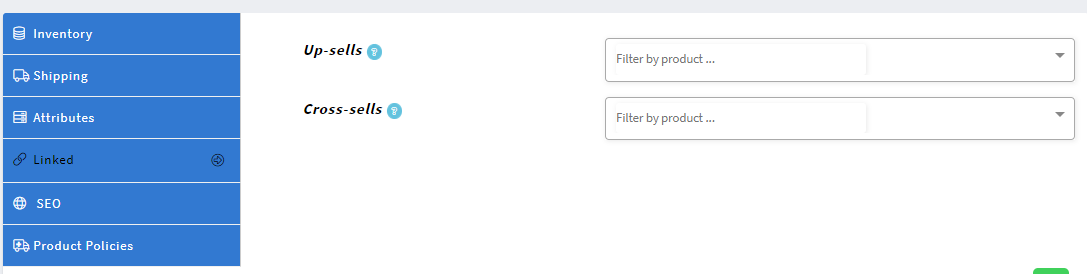
8.4: Linked Products Tab
- Upsells: Products recommended instead of the current item, considering they might be better quality or more expensive.
- Cross-sells: Products suggested on the cart page based on the current item.
That covers the essentials for adding a product to Makers India . Remember, taking the time to thoroughly and accurately fill out product details not only enhances your product listings but also improves the customer experience and aids in managing your inventory effectively.
Good luck with your online store, and happy selling!